Supplies Needed
PTU Tube “Rudolph” available at VMT.
Or Tube of your choosing
My supplies available HERE.
PSP Plugins:
Xero Fritillary
DSB Flux Bright Noise
Mura Meister Copies
This tut was created by me on November 16, 2019. This tutorial was from my own mind & any
similarities to any other tuts is purely coincidental. Play around with it. My tuts are meant to be
only a guide.
This tut is best for those with a basic knowledge of PSP.
I use the same drop shadow throughout. 2,2,50,5 black -shadow on new layer NOT checked.
Add as you go along.
Open a 700x250 transparent background
Copy Paste your tube as a new layer.
Mura Meister Copies, Wallpaper Rotate set at default
Repeat if you need more of the canvas covered or want to try for more color.
Adjust, Blur, Motion Blur- Angle 300, Strength 85
Xero Fritillary Default
Add new Raster Layer, Select All
Open kgtexture1shc2019 from supplies. Edit copy paste into selection. Select none.
Change texture layer (making sure its on top) to Screen.
Add new raster layer fill with a color from your tube. I chose a red. Change blend mode of color layer
to overlay opacity set to 50%.
Copy & paste your tube as a new layer on top, Resize and position to one side to your liking.
Duplicate the tube layer. Image, mirror horizontal. Merge down to merge the 2 tube layers together
only. Change blend mode of tube layers to luminance legacy, Opacity 70%.
Paste your tube as a new layer again on top as a new layer. Resize to your liking (preferably larger)
than your luminance tubes layer. Objects align horizontal center or to your liking.
Apply a drop shadow.
On top paste scatter from supplies as a new layer, resize 50%, & position at the top left corner as
you like it. Duplicate the scatter layer, image,mirror horizontally Merge down with other scatter layer
only & add drop shadow.
Copy paste a snowflake of your choice as a new layer above the scatter layer. Resize 50% & repeat
the steps for mirroring the scatter.Merge the 2 snowflake layers only. Duplicate again. Mirror Vertically.
Merge snowflakes add drop shadow. Add different snowflakes from supplies to one side in the middle
as you like following the same duplicate mirror drop shadow procedure until you like the result.
Add copyright info & Name
Layers Merge Visible.
Add a new layer & fill with color from your tube. Select all, Selections contract by 5. Press Delete.
Select None.
Use the magic wand tool & select the border you just did. DSB Flux Bright Noise, Intensity- 50
Direction -Mix
Layers Mere Visible Save.
Make an avatar using the same background techniques as above. I size mine 180x180.
Add Border
in the same way as above. Add Copyright, Name or Initial & Save.
.png)

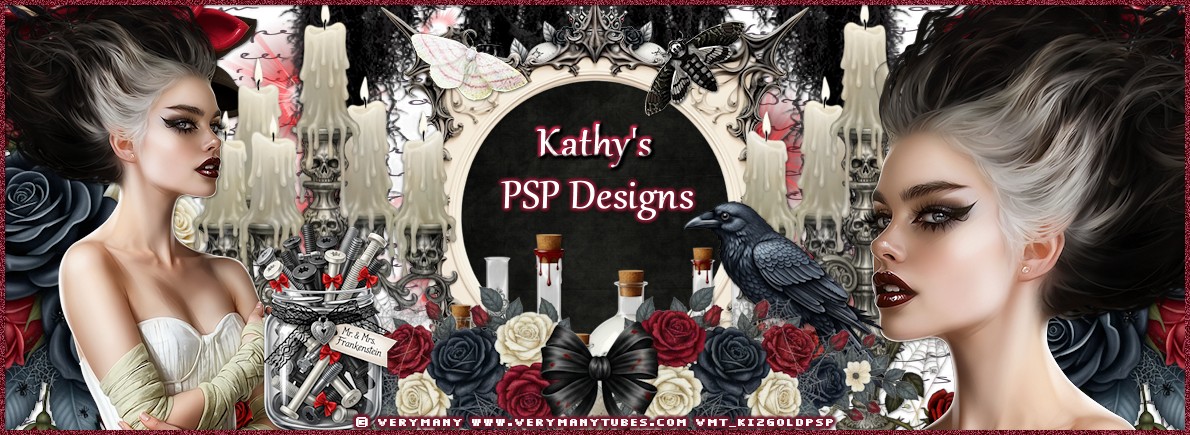


.png)

