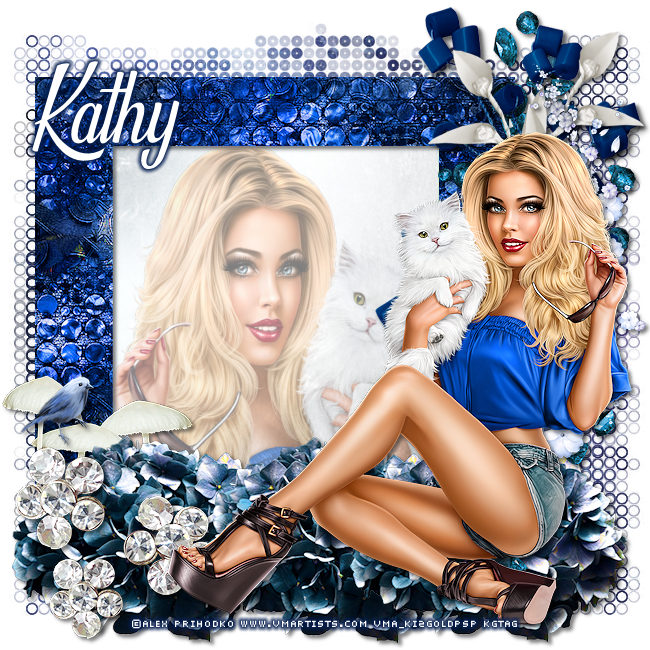
Caylee PTU Tut
Supplies Needed
*PTU tube Caylee by Alex Prihodko may be purchased HERE
*Matching PTU tagger kit by Tiny Turtle Designs may be purchased HERE
*FTU Mask by Dangerously Delicious Designz HERE
*FTU Font Beautiful People HERE
This tut was created by me on Aug. 13th, 2019. This is my very first try at writing a tut so let's cross our fingers! This tutorial was from my own mind & any similarities to any other tuts is purely coincidental.
Of course, you can use any tube & scrap kit you like & feel free to make your tag your own. Play around with it. My tuts are meant to be only a guide.
This tut is best for those with a basic knowledge of PSP.
I use the same Drop Shadow throughout.

Open 650x650 transparent background.
Open tube,copy & paste as new layer. Image, resize 50%. Adjust sharpness if needed.
Add drop shadow.
Open element frame 41, paste as a new layer. Resize frame 80% & position frame below tube.
Position to your liking. Add drop shadow to frame.
Using the magic wand tool with settings of Mode: replace, match mode color, tolerance 14,
contiguous checked, feather 0, anti alias checked outside (make sure you are on frame layer)
select inside frame. Selections, Modify, Expand 10.
Open paper 13, edit copy. Back to tag on frame layer, add new Raster layer. Edit Paste into selection,
Select none, move paper layer below frame,
On Frame layer again, using magic wand use same selection & expand selection settings as above.
Layer, new raster layer.Copy the close up of your tube & paste into selection. Select none,
move below frame layer. Image Flip horizontal. Set close up level opacity to 50%.
(Right click on layer on right change opacity)
Open Element 230, copy & paste as new layer, position behind tube above frame. Resize 80%
add drop shadow.
Open Element 235, resize 80% paste as new layer behind tube bt over element 230. Position to
your liking. Duplicate layer, Image flip horizontal, position. When you like the placement merge
only that layer down & add drop shadow.
Open Element 139, paste as new layer below tube, resize 80%, adjust sharpness,sharpen. Image free rotate left, 90 degrees & position. Add drop shadow.
Open Element 2. Resize 80%, adjust sharpness, sharpen. Edit, Copy then click on frame level &
paste as new layer. Image free rotate 90% but choose right this time. Position & add DS.
Open Element 129, edit copy & paste as new layer on top of frame layer. Resize 80%,
adjust sharpness & position to the left where you like it. Duplicate layer twice & move each layer
to the right, positioning where you like them. Merge Down only these 3 layers & add drop shadow.
Open Element 127, paste as new layer over flower layer & resize 80% 2 times. Adjust sharpness,
position & add drop shadow.
Open Element 185, paste as a new layer below flower layer. Resize 50% then resize 80%,
adjust sharpness, position & add drop shadow.
Layer, New Raster Layer. Layer arrange,send to bottom. Select All.
Open Paper 3, copy & paste into selection, select none.
Open DD Mask 11.
Layer, New Mask Layer, From Image, select DD_GeoMask_11 from drop down menu,
Source: Luminance, Invert Mask data NOT checked.
In layers section on right of workspace, right click on the mask layer and merge group. Duplicate
layer & merge down. Duplicate again, Image Mirror, Mirror Vertically.
Open Element 88, paste as new layer on top, resize 50% 3 times, adjust sharpness & position
on mushroom.
‘
When you are happy with your tag, ADD ©info & name. File Export, PNG Optimization with
below settings.
Thank you for stopping by!! I hoped you enjoyed the tutorial!!